Product Details 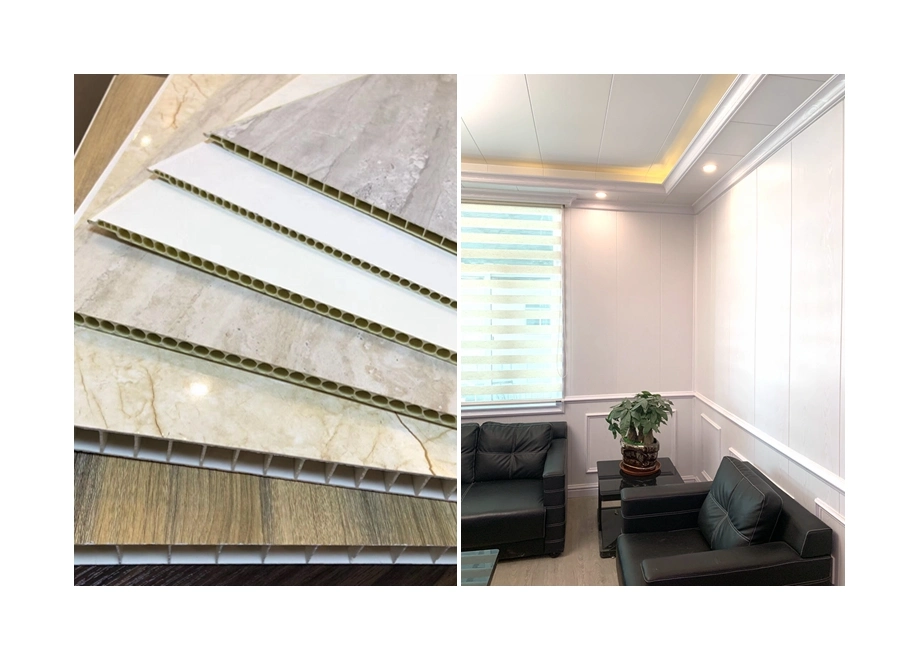
10 easy steps to a complete makeover:
The PVC ceiling/wall panels are widely used for indoor decorative, such as Hotels, commercial buildings, hospitals, schools, cooking rooms, washing rooms etc.
The features of pvc ceiling&wall panels
1) Easily assembly and clean
2) Without gap when concatenated
3) High intensity, corrode-resisting, aging-resisting
4) Due to PVC's high chemical stability,our panels can be used more than 10 years
5) Prevent fire,water,antibiotic.
6) Harmless to human being and eco-friendly
7) For Ceiling and Wall decoration
8) Accessories(corners) accompany perfectly
Specification
| Width | 10cm,12cm,16cm,18cm,20cm,25cm,30cm, 38cm,59.5cm,60cm |
| Thickness | 4mm,4.5mm,5mm,6mm,7mm,7.5mm,8mm,8.5mm,9mm,9.5mm,10mm,12mm,18mm,20mm,25mm |
| Length | 5.8m for 20ft container,5.95m for 40ft HC/HQ container or at customized |
| PVC Content | 35%,40%,45%,50%,60%, 70% or customized |
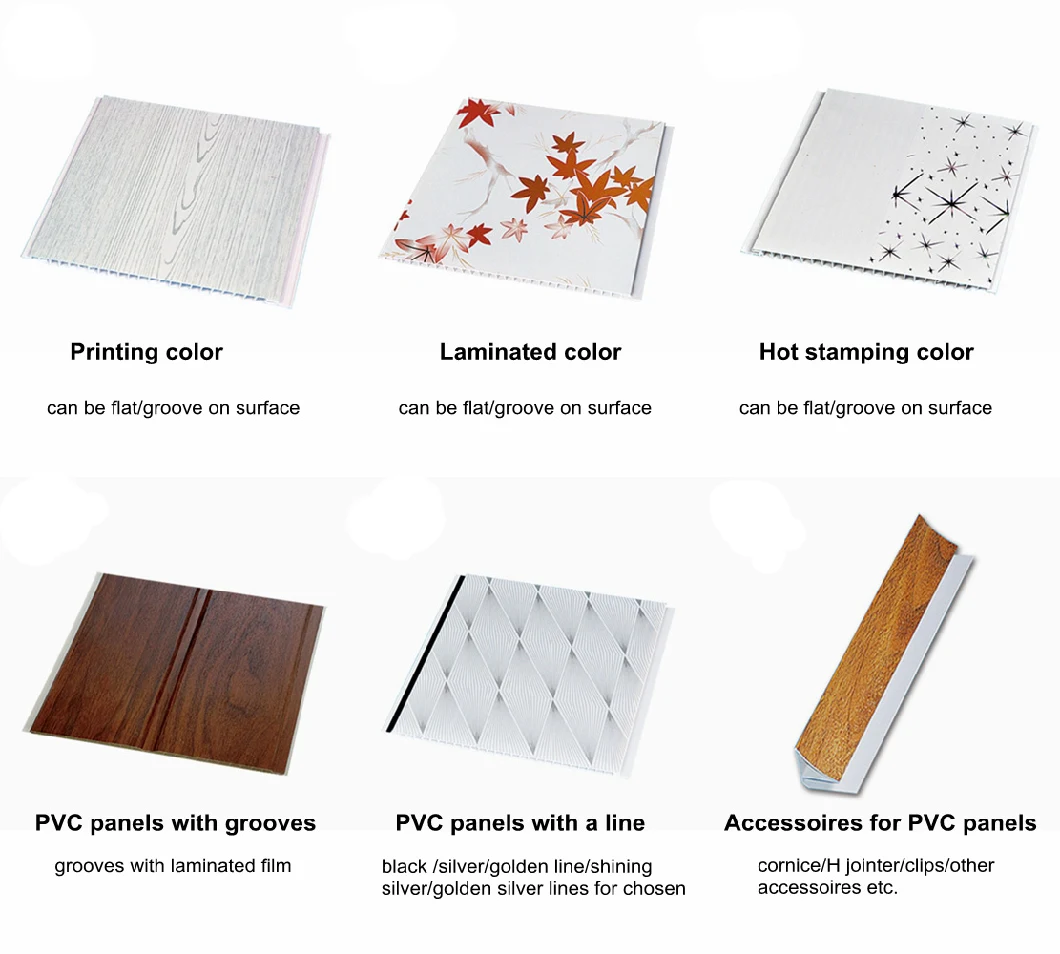
| Surface Finishing | Printing , Hot stamping , PVC -film laminated, normal glossy,high glossy and pearl |
| Material | PVC resin , Calcium carbonate,additives |
| MOQ Order | one 20ft container or negotiable |
| Delivery time | within 15~20days after prepayment for one container |
| Payment | negotiable |
| Packing | PE/platic film packing or Carton packing |
| HS code | 3925900000 |
| Place of origin | ZheJiang, China |
| Certificate | due to customer's request |
| Exported Area | South America,whole Africa, Mid East, Eastern Europe,west Asia and so on |
Product show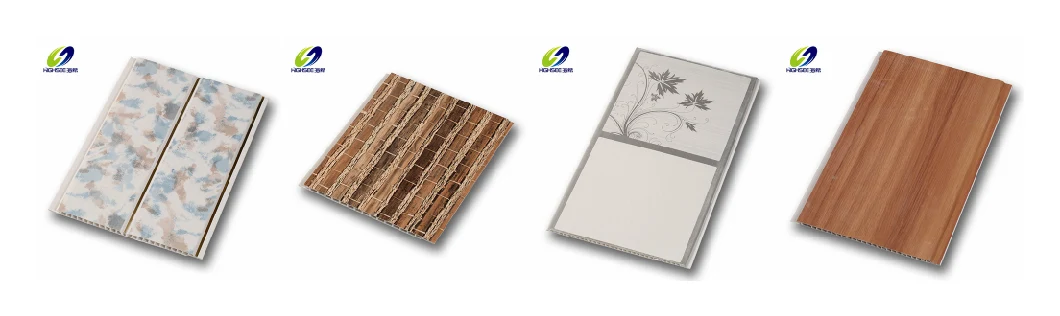
Why Choose Us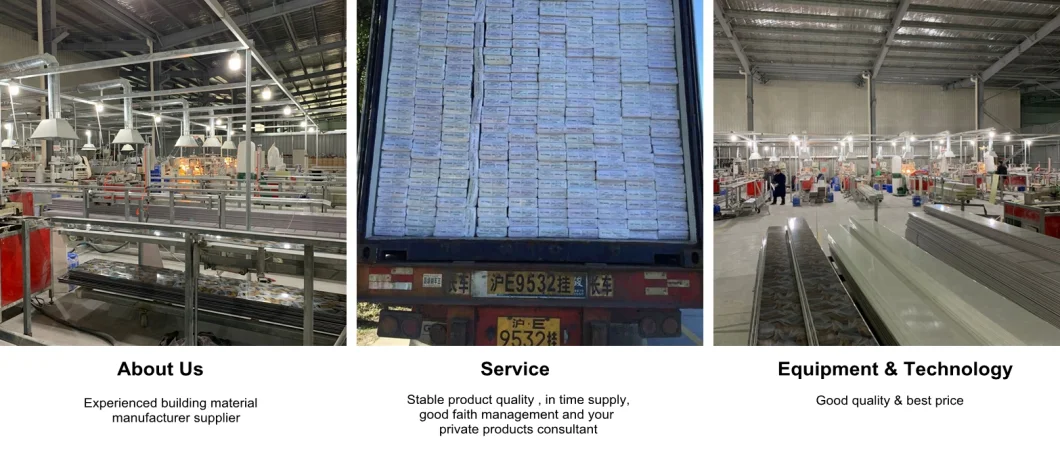
Installation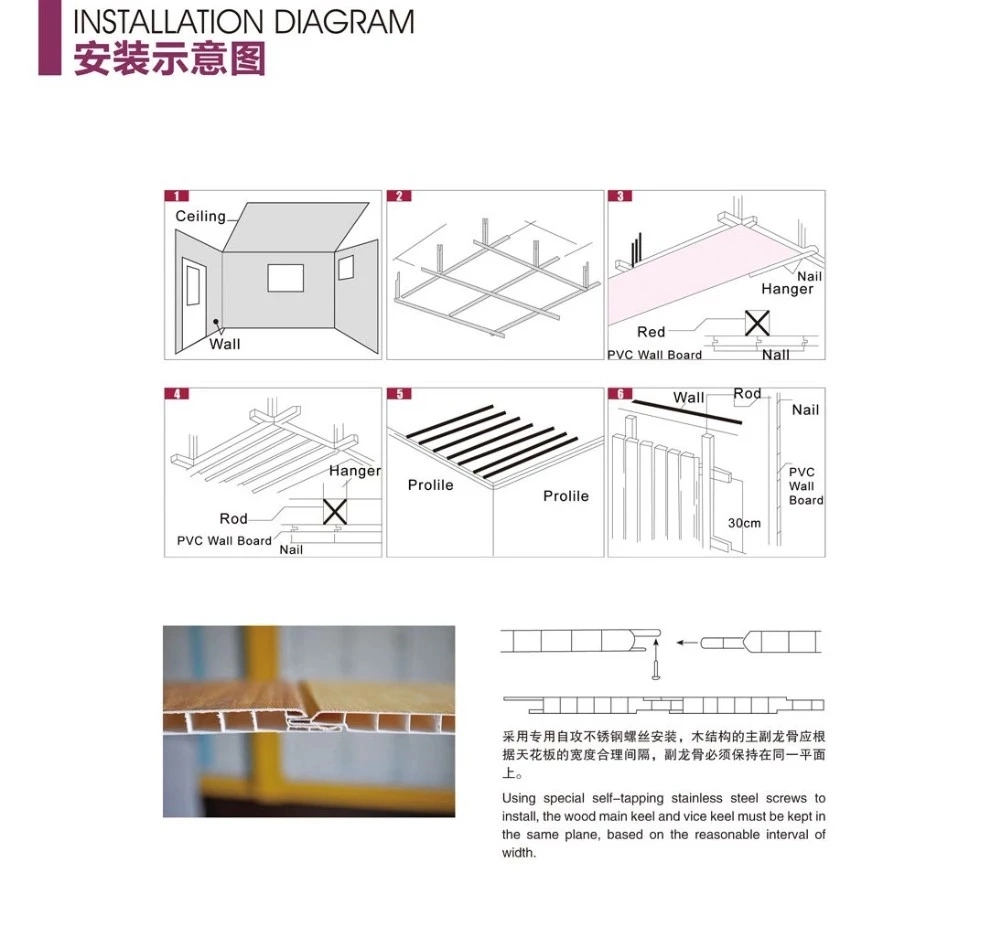
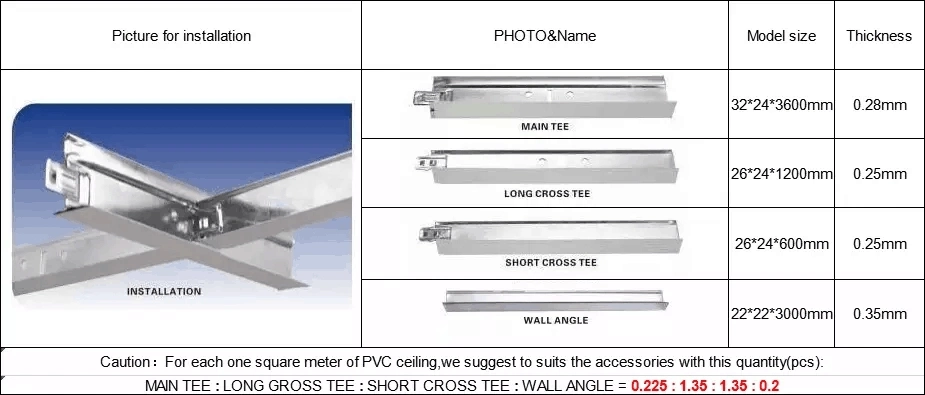
Installation
1. Select the first board and fix it onto the wooden framework.
2. Use a special designed connector to fasten the next board.
3. Fix the next board onto the wooden framework.
4. Continue this step until you hit the end of the ceiling.
10 easy steps to a complete makeover:
Step 1: Secure a corner support rail with nails, stapler guns, screws, liquid nails, etc so that it is securely fastened
Step 2: Fasten the top and bottom support rails.
Step 3: Cut the panels to size using a handsaw, electric saw or sharp blade.
Step 4: Slide the panel in at the top support rail and ease it into the bottom support rail.
Step 5: Make sure the first panel is attached securely to the corner.
Step 6: Take the next panel and repeat Step 4.
Step 7: Slide the panel to the previous panel making sure the tongue locks securely with the groove.
Step 8: Repeat Step 6 and Step 7 until you reach the end.
Step 9: If required, cut off any access to fit.
Step 10: Install a support rail to complete the installation.
Packing & Delivery
Main products